8AM to 4PM PT
sales@avnow.com
8AM to 4PM PT
sales@avnow.com

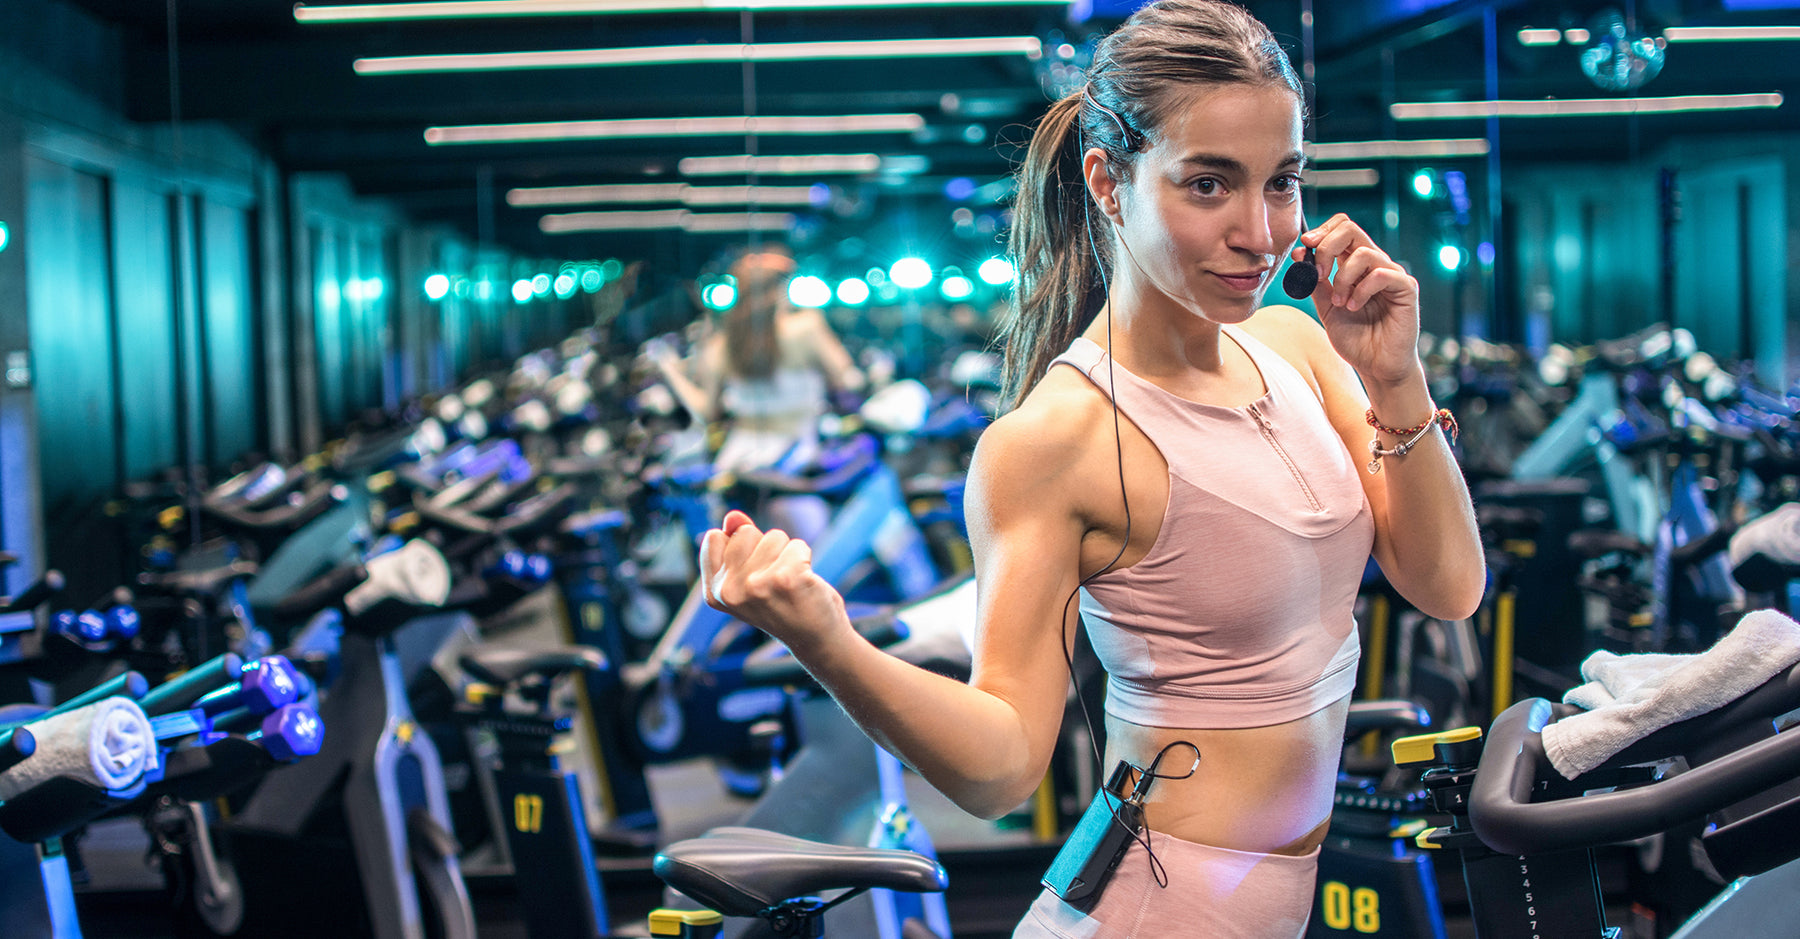
Using a fitness headset microphone can greatly enhance your communication and experience during workouts and presentations. However, ensuring that it fits correctly is crucial not only for optimal audio quality but also for comfort. If you're finding that your fitness headset microphone is not quite fitting as you'd like it to, or if you're experiencing discomfort during long workouts, a few simple adjustments can make a world of difference. Here’s a step-by-step guide to help you get the perfect fit for your Fitness Headset Microphone.
Utilize the Adjustable Straps
Most fitness headset microphone systems come with adjustable straps, allowing you to tailor the fit to your head size. An exception to this is Shure's SM31 Headset Microphone. If your headset feels loose or tight, start by adjusting the straps. You want the headset to be snug enough that it feels secure during movement but not so tight that it causes discomfort or pressure against your head.
 Photo above: Replacement Adjustment Headband
Flex the Frame for Custom Fit
On some models, hold one ear loop in each hand and gently bend the ear loops toward each other until they slightly cross. This adjustment can help the headset grip the sides of your head better and is particularly helpful for those with smaller head sizes. Hold this position for a few seconds and then release – the frame will now retain a tighter shape to provide a more secure fit.

Photo above: Samson Airline 88 Replacement Headband
Position the Headband Correctly
The headband of your fitness headset microphone should rest comfortably against the back of your head, just above the neck. Ensure that the microphone is correctly positioned in front of your mouth. Proper positioning not only ensures a comfortable fit but also enhances the sound quality of your microphone.
Use Complimentary Accessories
If you're still struggling with the fit, try using headset accessories. A padded headband can provide extra comfort, especially during longer workouts or presentations. Or ask us which adjustment band is the best for your headset model.
Test and Adjust
After making any adjustments, test the microphone to ensure you're satisfied with the fit. Pay attention to any residual discomfort or microphone movement. Move around as you would during your class. Continue to tweak the settings until you find the most comfortable and secure fit that allows you to move freely with confidence.

Adjustable Microphone Booms
Many fitness headset microphones come with flexible boom arms or positioning options, like the EMic Fitness Headset Microphone. An exception to this is the Aeromic or Cyclemic. If the microphone is rubbing against your cheek or causing discomfort, you may need to adjust its position. Use the microphone's flexibility to move it closer or further from your mouth until you find the most comfortable and effective position.
Troubleshooting Scenarios
Here are a few specific scenarios where you might need to re-evaluate the fit of your fitness headset microphone and how to address them:
1) Microphone Slipping During Workouts
If your microphone is slipping during high-energy workouts, the headset may need to be readjusted. Double-check that the straps are snug and make use of any additional clips or hooks provided to keep the headset in place. Adjust the microphone position to ensure it's not causing the slipping.
2) Unwanted Noise Output Due to Fit Issues
If your fitness headset microphone is producing unwanted noise due to the fit, such as rustling or pops, it could be because the microphone is too close to your mouth or is moving around too much or touching your cheek. Ensure that the microphone is positioned correctly and that the fit is secure to minimize any disturbances in the audio.
3) Headset Material Adding to Discomfort
The material your headset is made from can sometimes cause discomfort. Look for headsets with softer, more flexible materials that won't irritate you during use.
By addressing these common fit issues and making the appropriate adjustments, you can ensure that your fitness headset microphone not only functions optimally but is also comfortable to wear for extended periods. Remember that a well-fitted microphone not only enhances your comfort but also allows you to focus on delivering your best performance.
Here are a few help links:
{"one"=>"Select 2 or 3 items to compare", "other"=>"{{ count }} of 3 items selected"}
Leave a comment